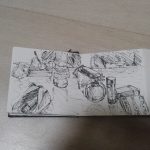
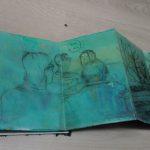
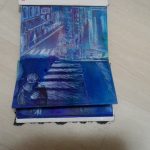
Before the sketchbook workshop with Helen, I researched a few Do It Yourself sketchbooks on Pinterest. It gave a few ideas!
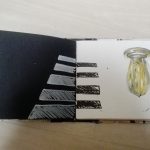
For Helen’s workshop, that was supposed to be taught by Ruth, I took lots of paper of different colours because I already knew the kind of pages I wanted to work on during Copenhagen. However, when I got there-there were a lot more possibilities than the ones I researched. Helen began to show us each sketchbook and after that, we received a handout for each one of them and we began trying it! I loved the small sketchbooks from the minute I saw them so I decided to make two. They are called the maze sketchbooks. I also tried the triangular maze but it’s not really handy to draw in, as Helen said, it is more like a commercial type of sketchbook. When the morning workshop was over I had several experiences.
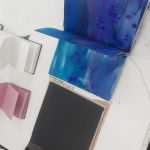
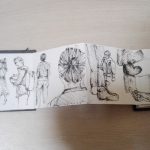
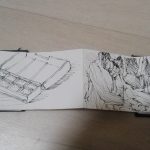
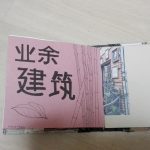
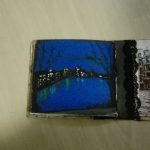
After lunch, the workshop continues and Helen showed everyone how to sue the pages. There were two ways doing them depending on how we wanted the sketchbook to look like, either with a hardcover with fabric pasted on it or a soft one. We could also choose the side we give the final nut on if for example, we wanted to put some kind of thread on the outside. I decided to make a sketchbook with a soft cover and my nut is on the inside. I also made two maze sketchbooks, one with a white sheet and another one with a pink one. Once I looked through all the examples of sketchbooks on the table I noticed a small one, which name I can’t recall, that had a watercolour background with tracing paper pasted on the top the person drew on the top of the tracing paper with the fine line. I loved the idea so I made a bigger version of it.
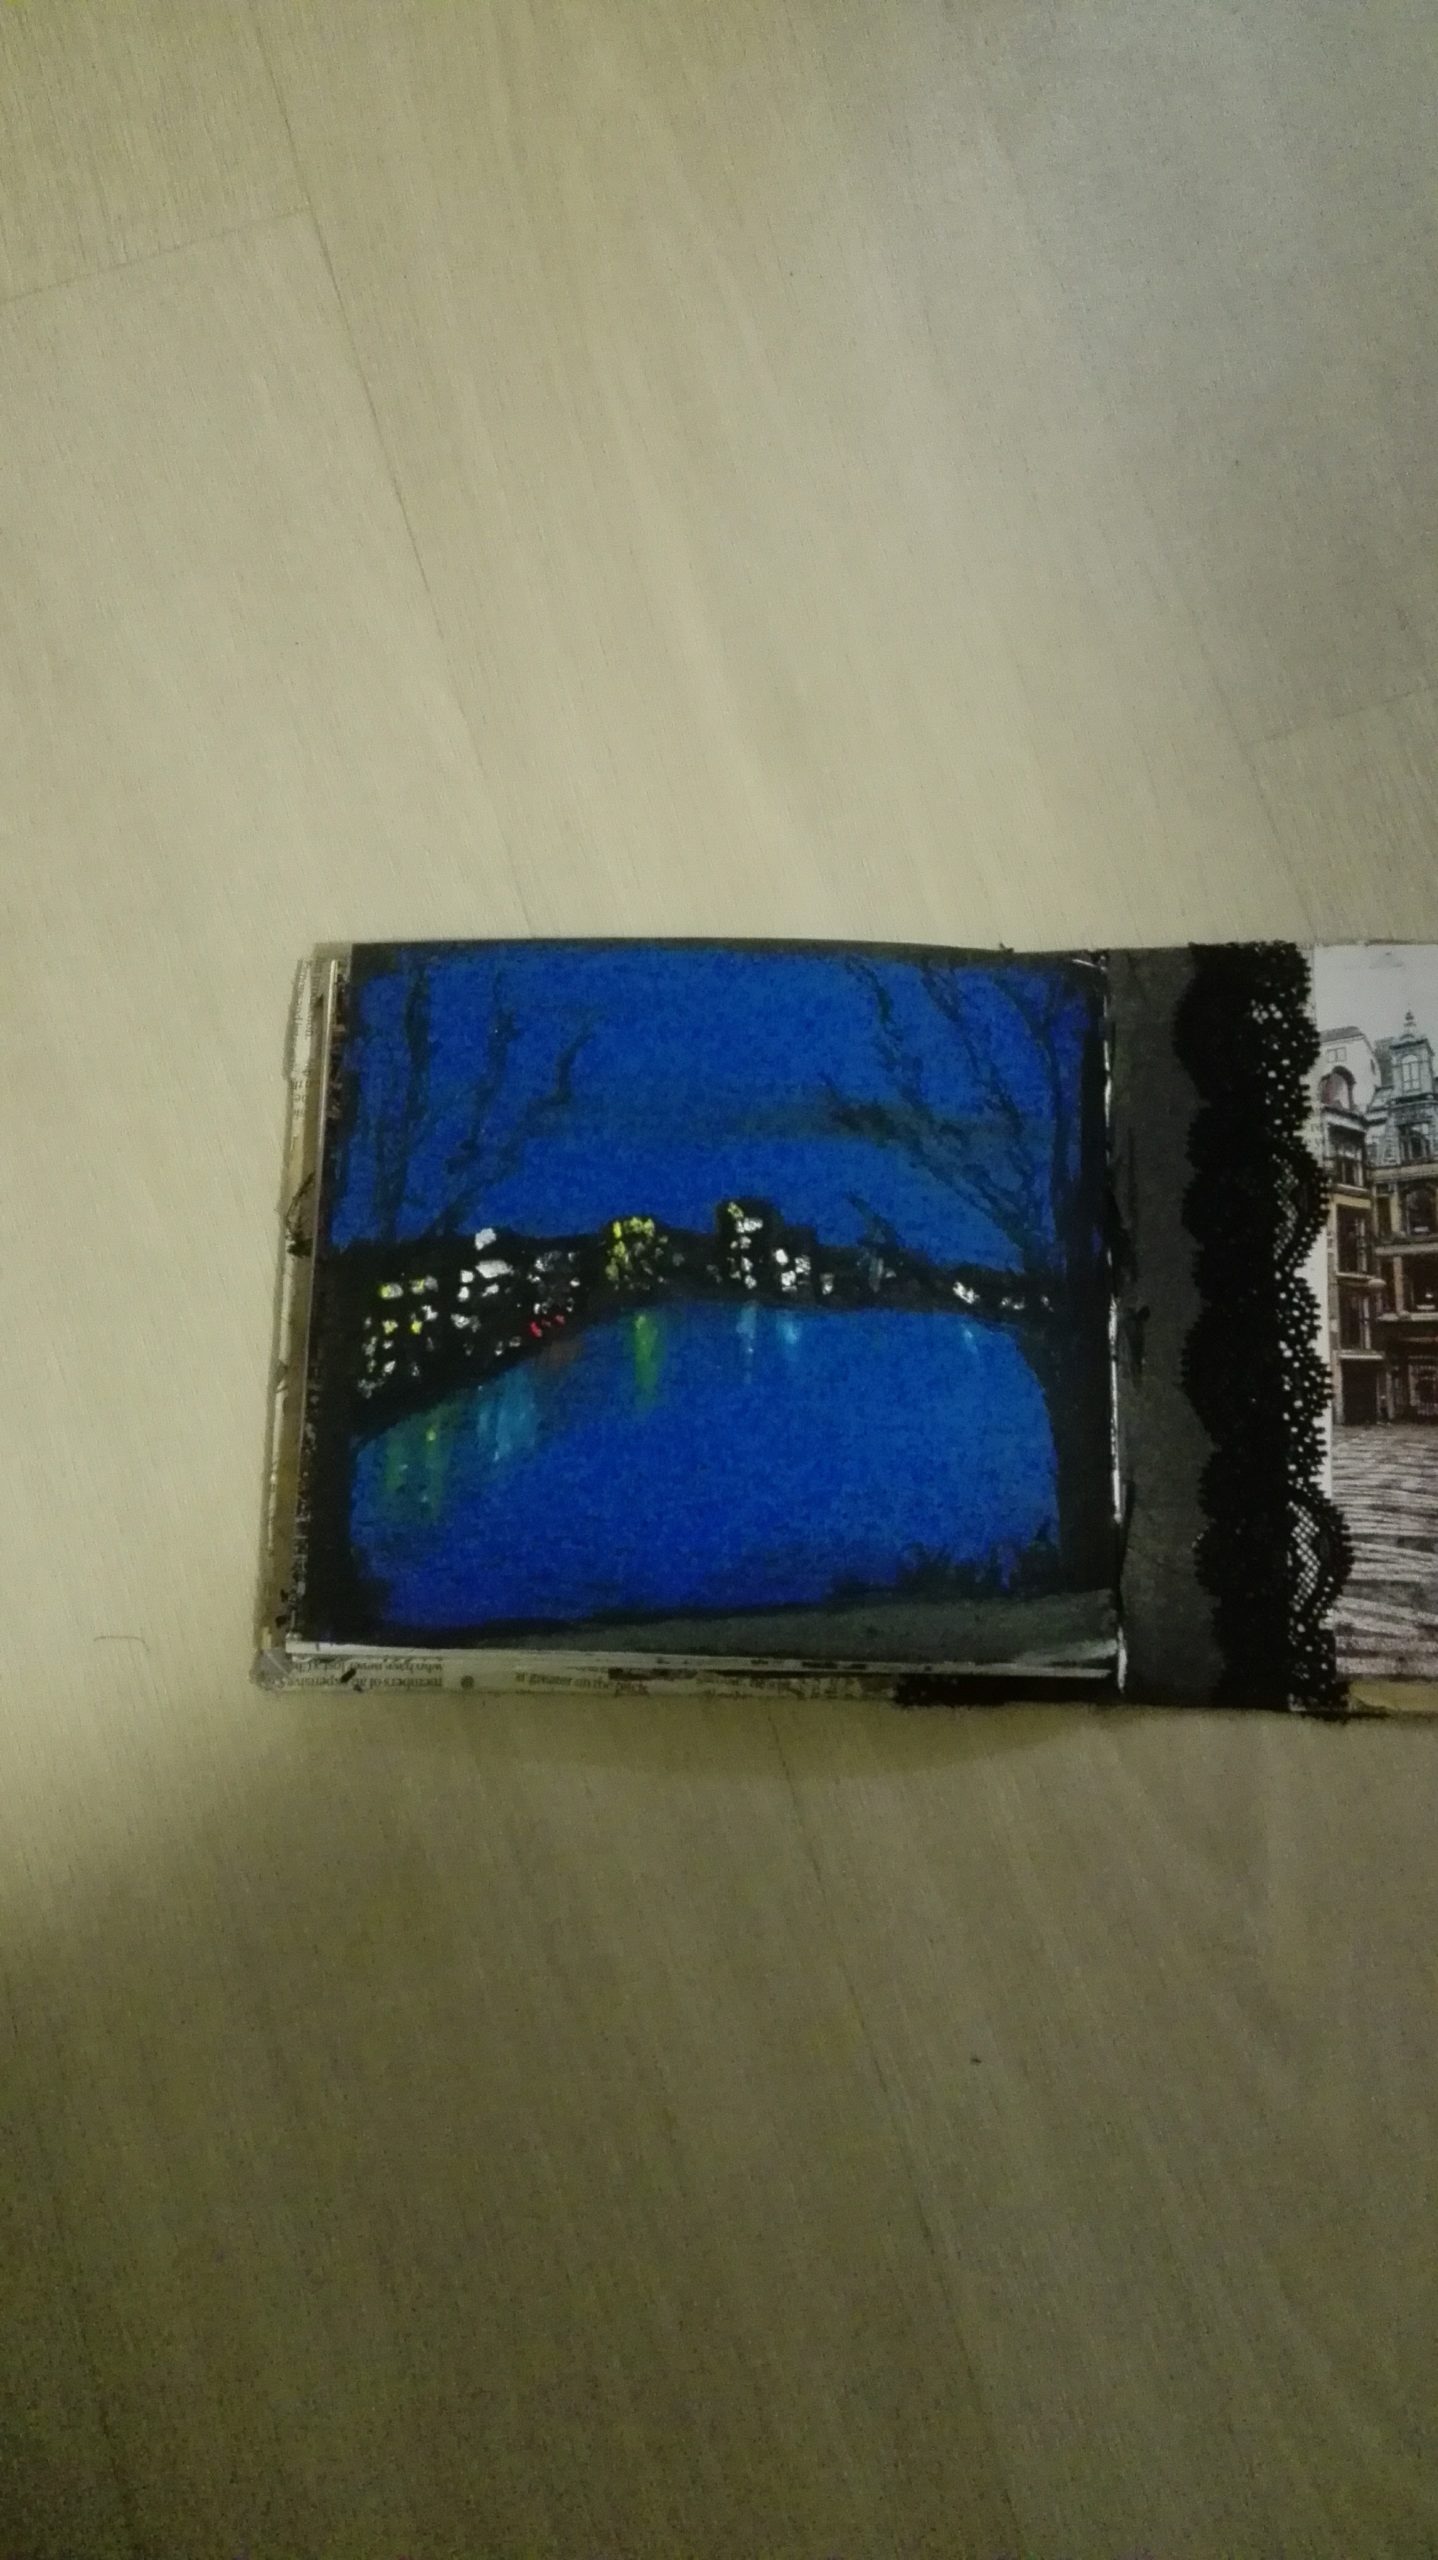
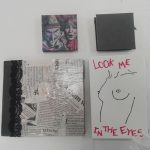
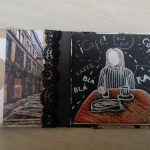
After that, in my studio, I got started with the covers of each sketchbook. For the square and stitched one I simply pasted pieces of a journal, black paper and a small piece of fabric. I glued them to the cover and added a PVA layer later.
For the two small ones I just found two images from a newspaper that matched the pink paper and for the other one, I just covered it with black paper.
The one that stretches, where I painted a watercolour background I made a fine liner drawing on the cover based on an image I found on Pinterest. The back cover has the same fabric as the square sketchbook and red watercolour
For the square one, I posted pictures of Copenhagen in it.


